laravel localization
Hosting a Laravel application on Hostinger is a straightforward process. Hostinger provides shared hosting plans that support PHP and Laravel applications. Here’s a step-by-step guide on how to host your Laravel application on Hostinger.
Step1: Access Hosting Control Panel
- Open your web browser and navigate to the Hostinger website at https://www.hostinger.com/.
- Click the “Login” button located in the upper right corner of the website to log in to your Hostinger account.
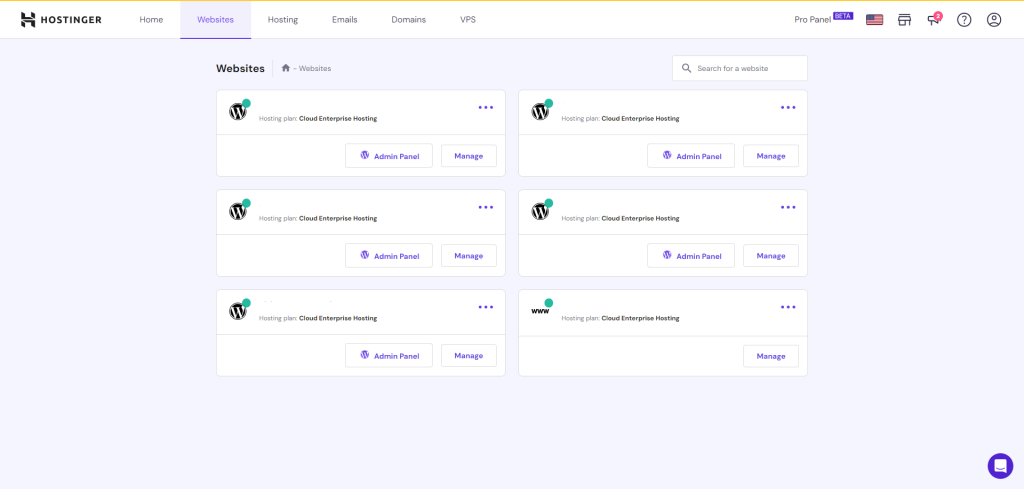
- Now, after logging in, you can proceed to the next step, which is accessing the hosting control panel.Click Manage Button to access your domain.
Step2: Upload project zip file to server
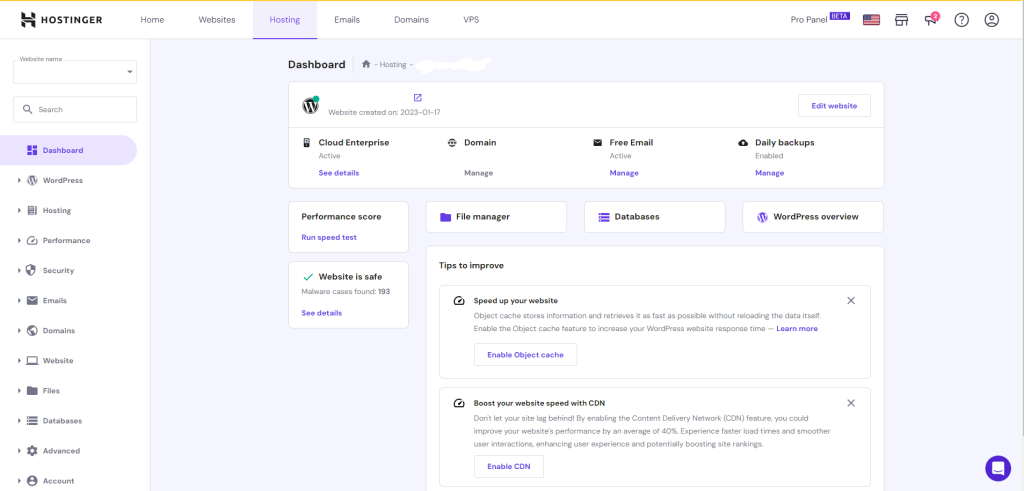
- In this window click file manager and go to folder structure(this will open new tab for file manager).
- After that navigate to public_html and upload your laravel project zip file to there.
- After Upload you need to extract the zip file in that location.
Step3: Create Database and add User
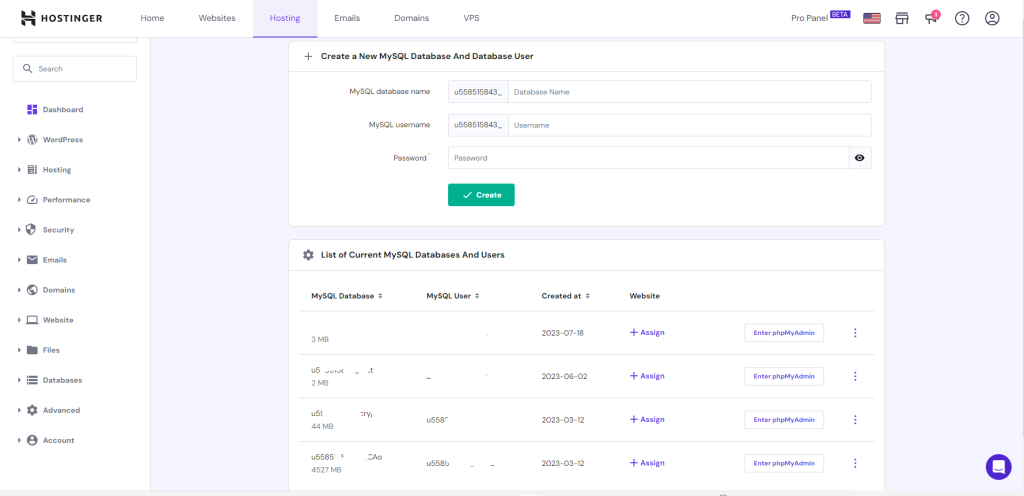
- Navigate Step 2 window and click Database,that will redirect you to this window.in that window create new database and add user account for it.after that you can access phpmyadmin for that database.
- Then go to phpmy admin and import your mysql database backup file to there.
Step4: Set Database configuration and folder structure
- In this step we need to navigate back to our folder structure.
- Edit .env file and add your database configuration to there
- Then go to inside of public folder and move all files to your root location where is .env file located.
- Edit index.php file and change this code parts
require __DIR__.'/../vendor/autoload.php';to
require __DIR__.'/vendor/autoload.php';and this line
$app = require_once __DIR__.'/../bootstrap/app.php';to
$app = require_once __DIR__.'/bootstrap/app.php';Conclusion: That’s it! Your Laravel application should now be hosted on Hostinger. You can access it by visiting your domain in a web browser. Be sure to keep your Laravel application and server up to date with security patches and updates for optimal performance and security.
Read More